
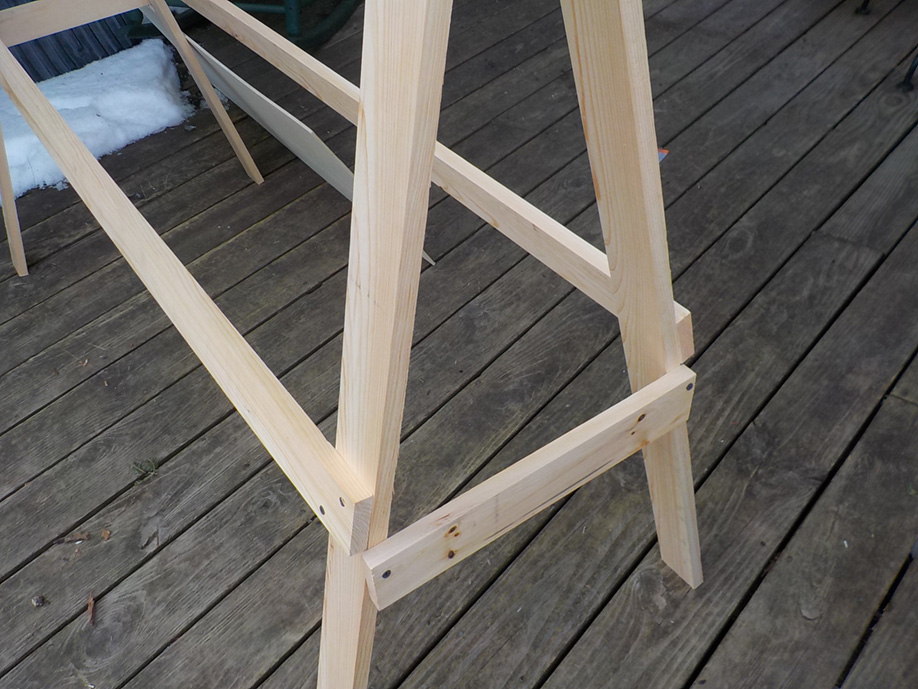
The cross braces add stability.
by Henry Homeyer
CORNISH FLAT, N.H. – As I write this, the wind chill factor is well below zero, and summer seems a lifetime away. But if you are thinking about starting seeds indoors this year, this would be a good time to build a simple wooden plant stand. You don’t have to be a carpenter to build this, or to have expensive power tools. Your local lumber yard will cut the pieces you need.
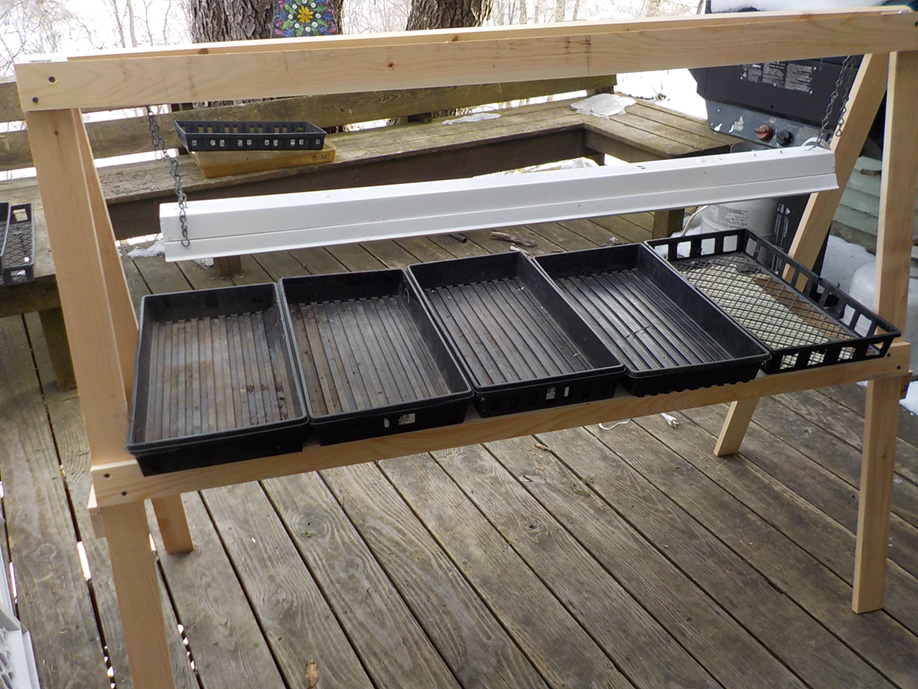
Mine is a simple A-frame, with one shelf, and the space for more plant flats on the floor. It stands about four feet tall, is five feet wide from end to end, and two feet from front to back at the base. It has space for four or five flats or trays, each of which will hold at least 32 plants, more if you buy the smaller six-packs that I avoid (some flats can hold 48-72 plants). And if at a later time you want to grow more plants, you can put another four flats or more on the floor and add lights above them.
The lumber for this cost me about $50 and the light fixture: a simple shop light with two four-foot LED bulbs and a plug-in cord, cost $62, although often they are more expensive. Looking at catalogs, I see that one can easily spend much more for a pre-made plant stand. If you decide you like starting plants in the house, you could buy the extra lights next to illuminate more flats on the floor.
Here is what you need to buy for the model I built: (4) pieces of 1”x3” pine, 4 ft. long; (4) pieces of 1”x3” pine, 5 ft. long; (2) pieces of 1×3 pine, 16” long for cross bracing; (1) piece ¼” plywood, 18”x4’ (you can use thicker plywood if you have some); (1) pair 3” strap hinges; 4-feet of quarter inch jack chain for hanging the lights and 2 small cup hooks to hang the chain; (1) 4′ shop light with LED bulb and a plug-in cord; (30) sheet rock screws (1.25” long); Tools: portable drill with magnetic bit to fit the screws and a measuring tape.

The shelf will hold four or five flats of seedlings.
Most lumber yards will cut all your materials to size for you, but do not have small sheets of plywood. I found that Home Depot does have plywood in two-foot by four-foot sheets, and they cut mine to give me a piece 18” by 4’ for the shelf. You will need to ask them to cut the 1×3 pine boards as follows: four 60-inch pieces, four 48-inch pieces, and two 16”pieces.
Start by making two legs for your plant stand. Lay the four-foot pieces end-to-end on the floor. Do it on your deck if possible, or next to a wall so that you can get them in a straight line by lining them up with something that is straight. Lay the hinges in place so that you will be able to fold them closed (most hinges only close one way). A cordless drill with a magnetic bit for Phillips screws will make your work much easier. To start the small screws on the hinges, make a hole first with a nail or awl, or a tiny drill bit.
Next close up the hinged legs and place them five feet apart on the floor. Place two of the five-foot pieces on top of the first side. One should be screwed right at the top, one 24 inches from that. Flip over the stand, and do the same on that side. Stand it up, and spread the legs two feet apart at the bottom. Then add a cross brace on each end of the A-frame just below support pieces for your shelves.
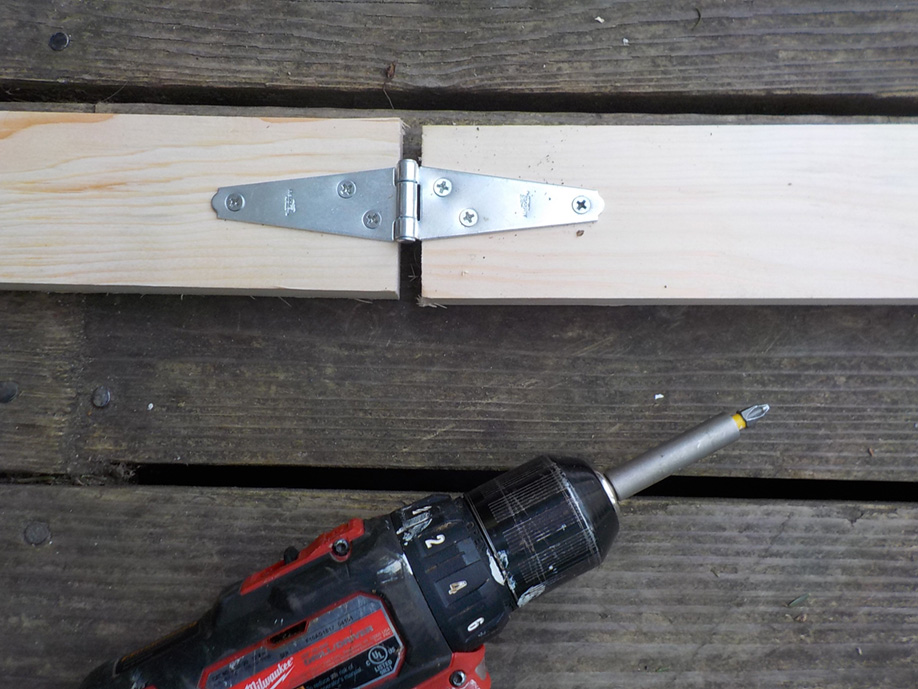
Install the hinges on the four-foot leg pieces.
Lastly you need to hang the light. Mine came with S-hooks and chain, which made hanging the lights easy. If yours do not, you will have to buy them. Most shop lights have slots and holes on the back side so that you can slip in S-hooks easily to hang it. You can also open a link of your jack chain and fit it in without an S-hook, just use two pairs of pliers to bend a link open. Screw two small cup hooks into a top cross piece and attach the jack chain. The chain will allow you to raise or lower the light: lights should be about six inches above the plants.
Starting seedlings indoors is miraculous for me, even after doing it for decades. I hold my breath waiting for germination, and fuss over the seedlings like a mother hen. And when I bite into my first tomato in August, I have the added satisfaction in knowing I brought that tomato into my world with lots of help from Mother Nature.


